Carylitz Tamez talked about the production of the realistic brick wall with a classical combo of Zbrush and Photoshop.
Another awesome breakdown from Carylitz Tamez. This time she talked about the production of the realistic brick wall with a classical combo of Maya, Zbrush and Photoshop.
Introduction
My name is Carylitz Tamez and I just graduated from the Game Art and Design program at Vanarts. I want to keep learning and trying new techniques in my personal projects, so I can continue to grow as an artist.
I wanted to test how far I could take the sculpt so I chose to do a study of bricks and decided to use only Zbrush and Photoshop as a challenge.
First of all, how did you approach the sculpting of the wall? You have to have a certain symmetry and asymmetry in materials like these. How did you decide to work with this in your project?
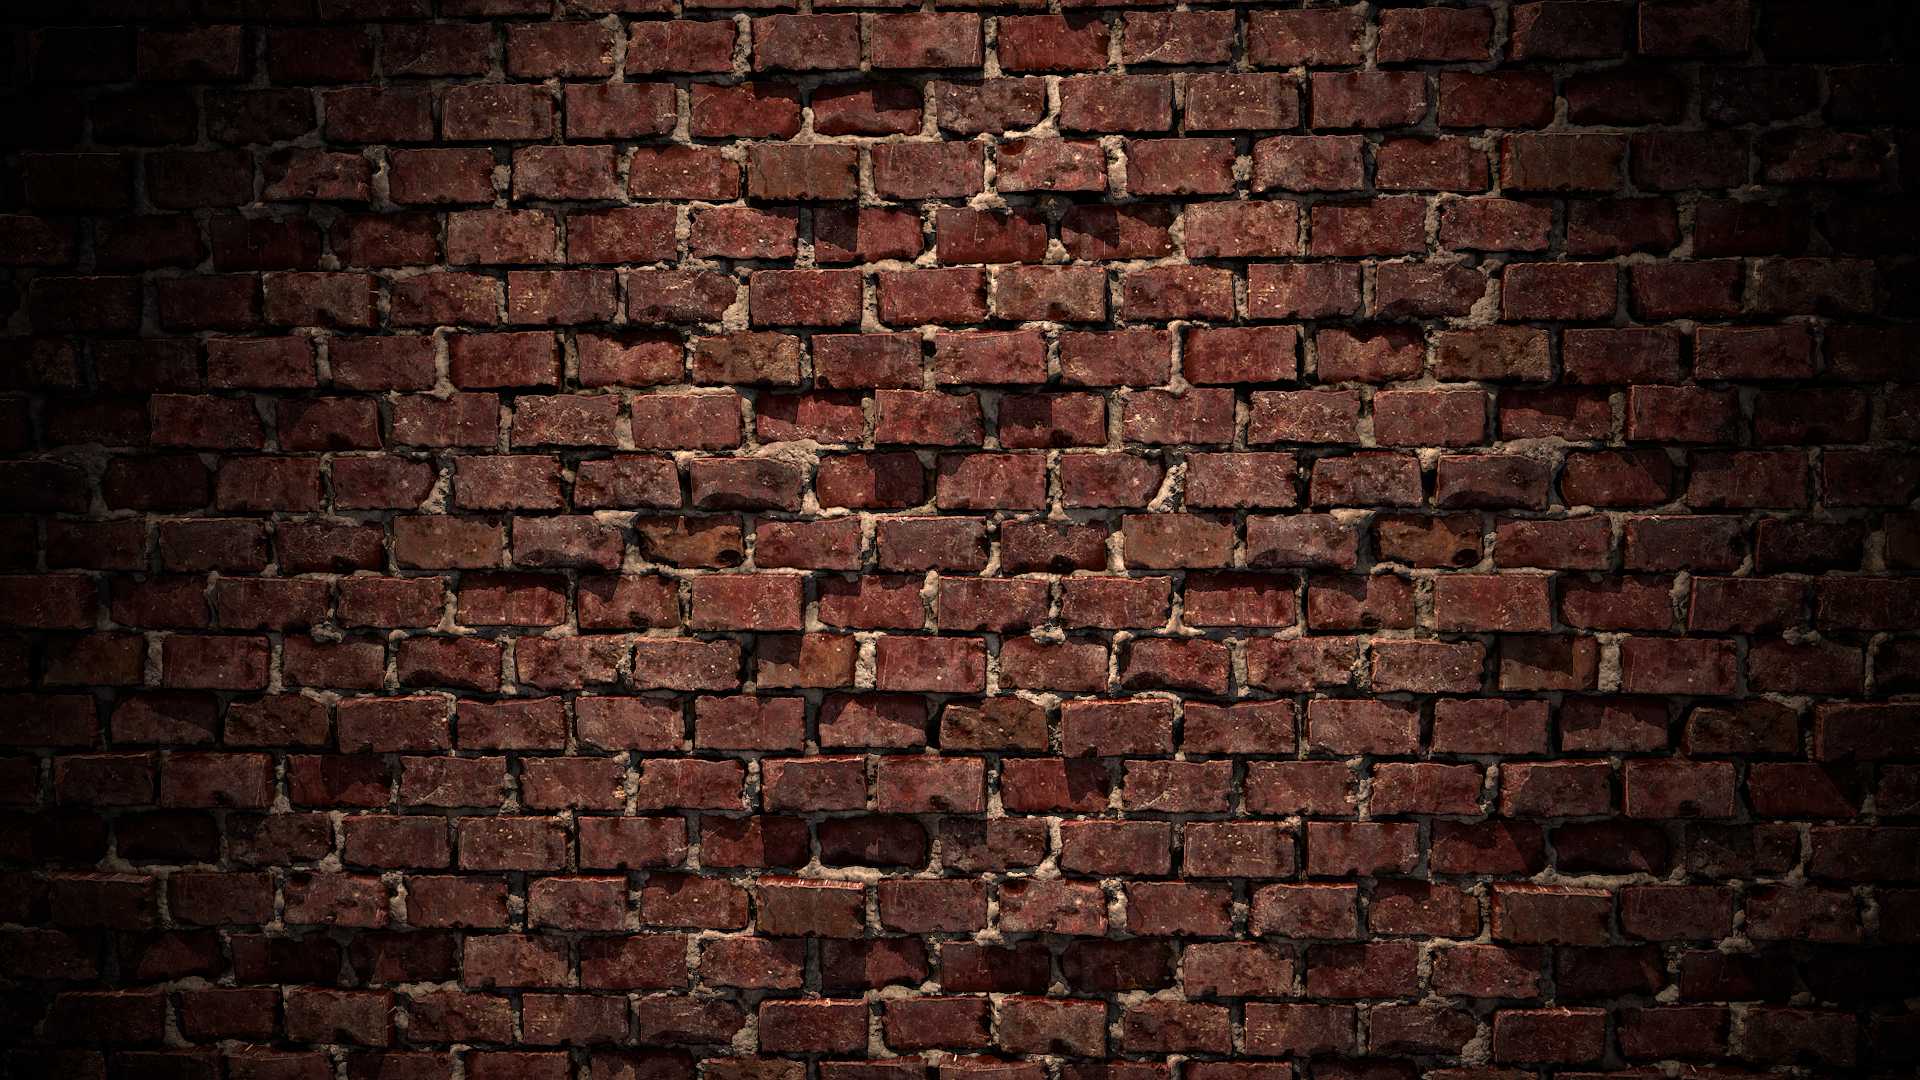
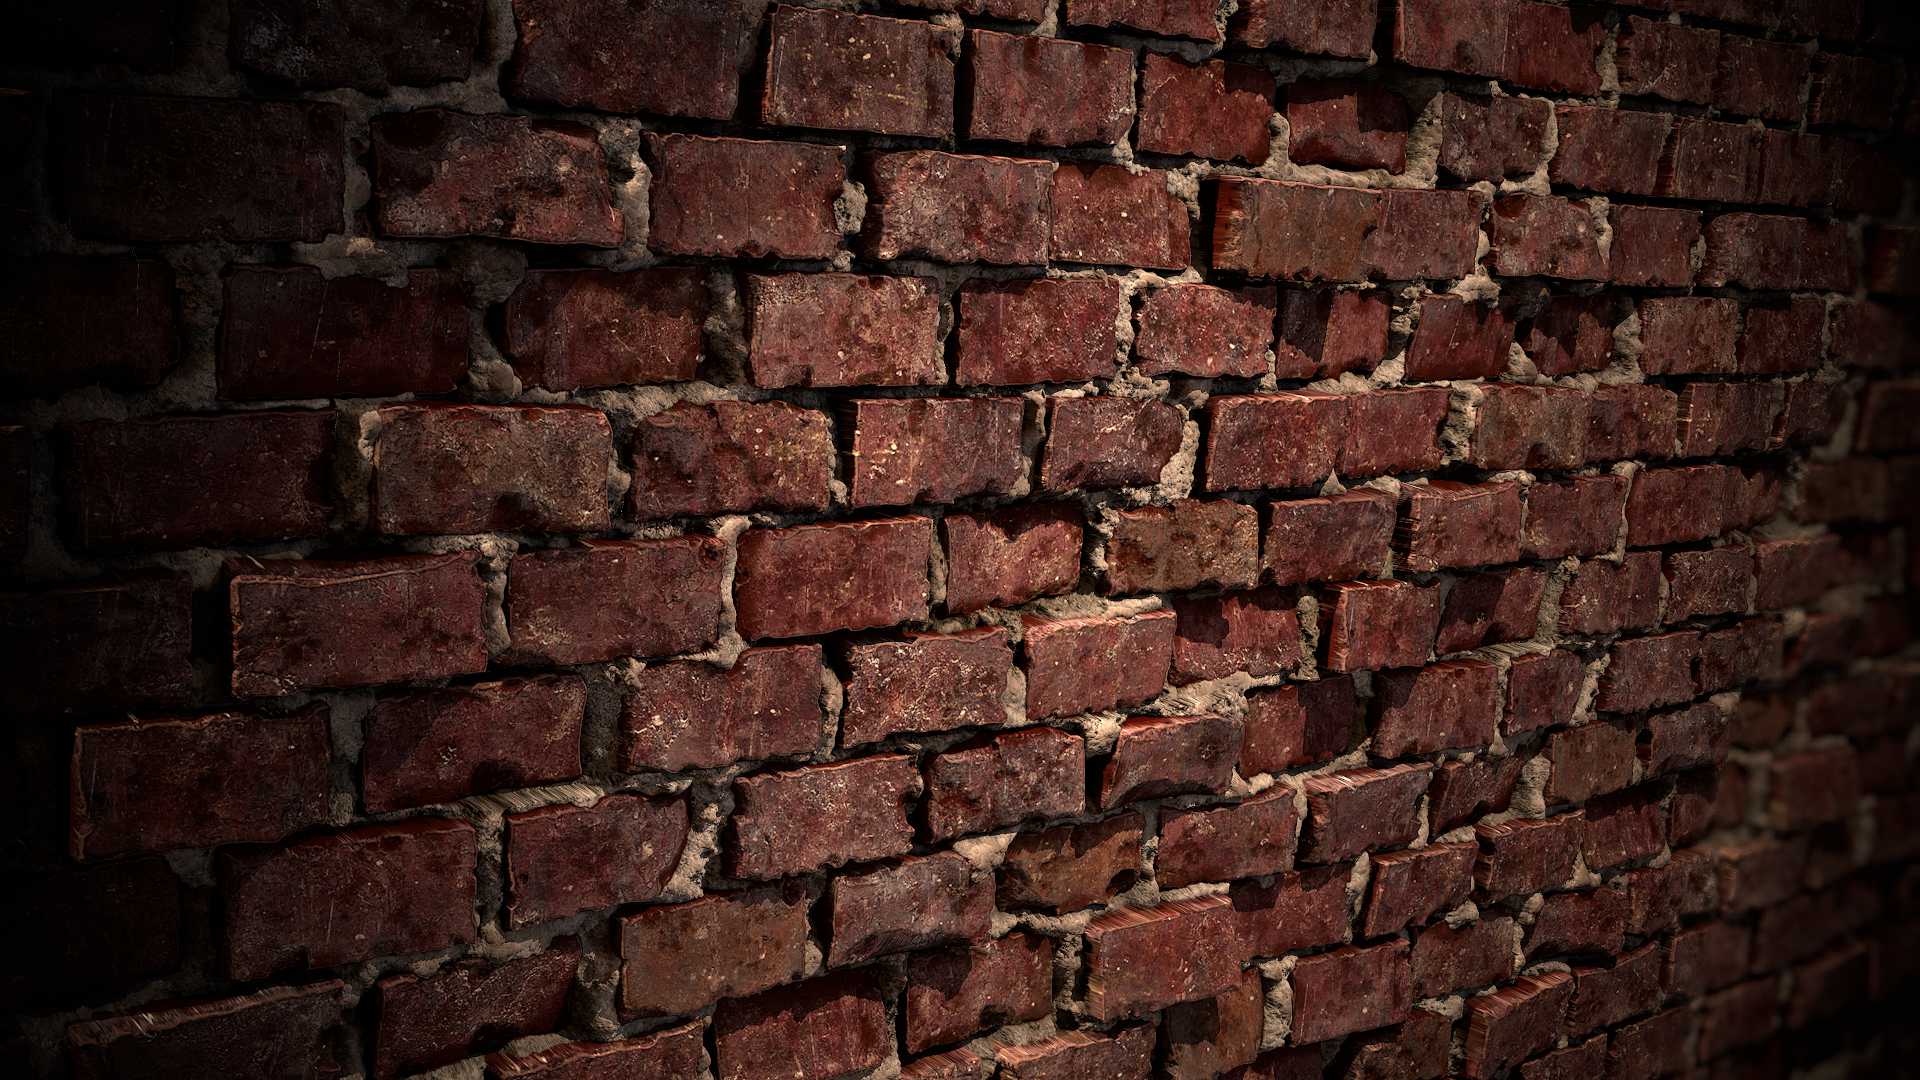
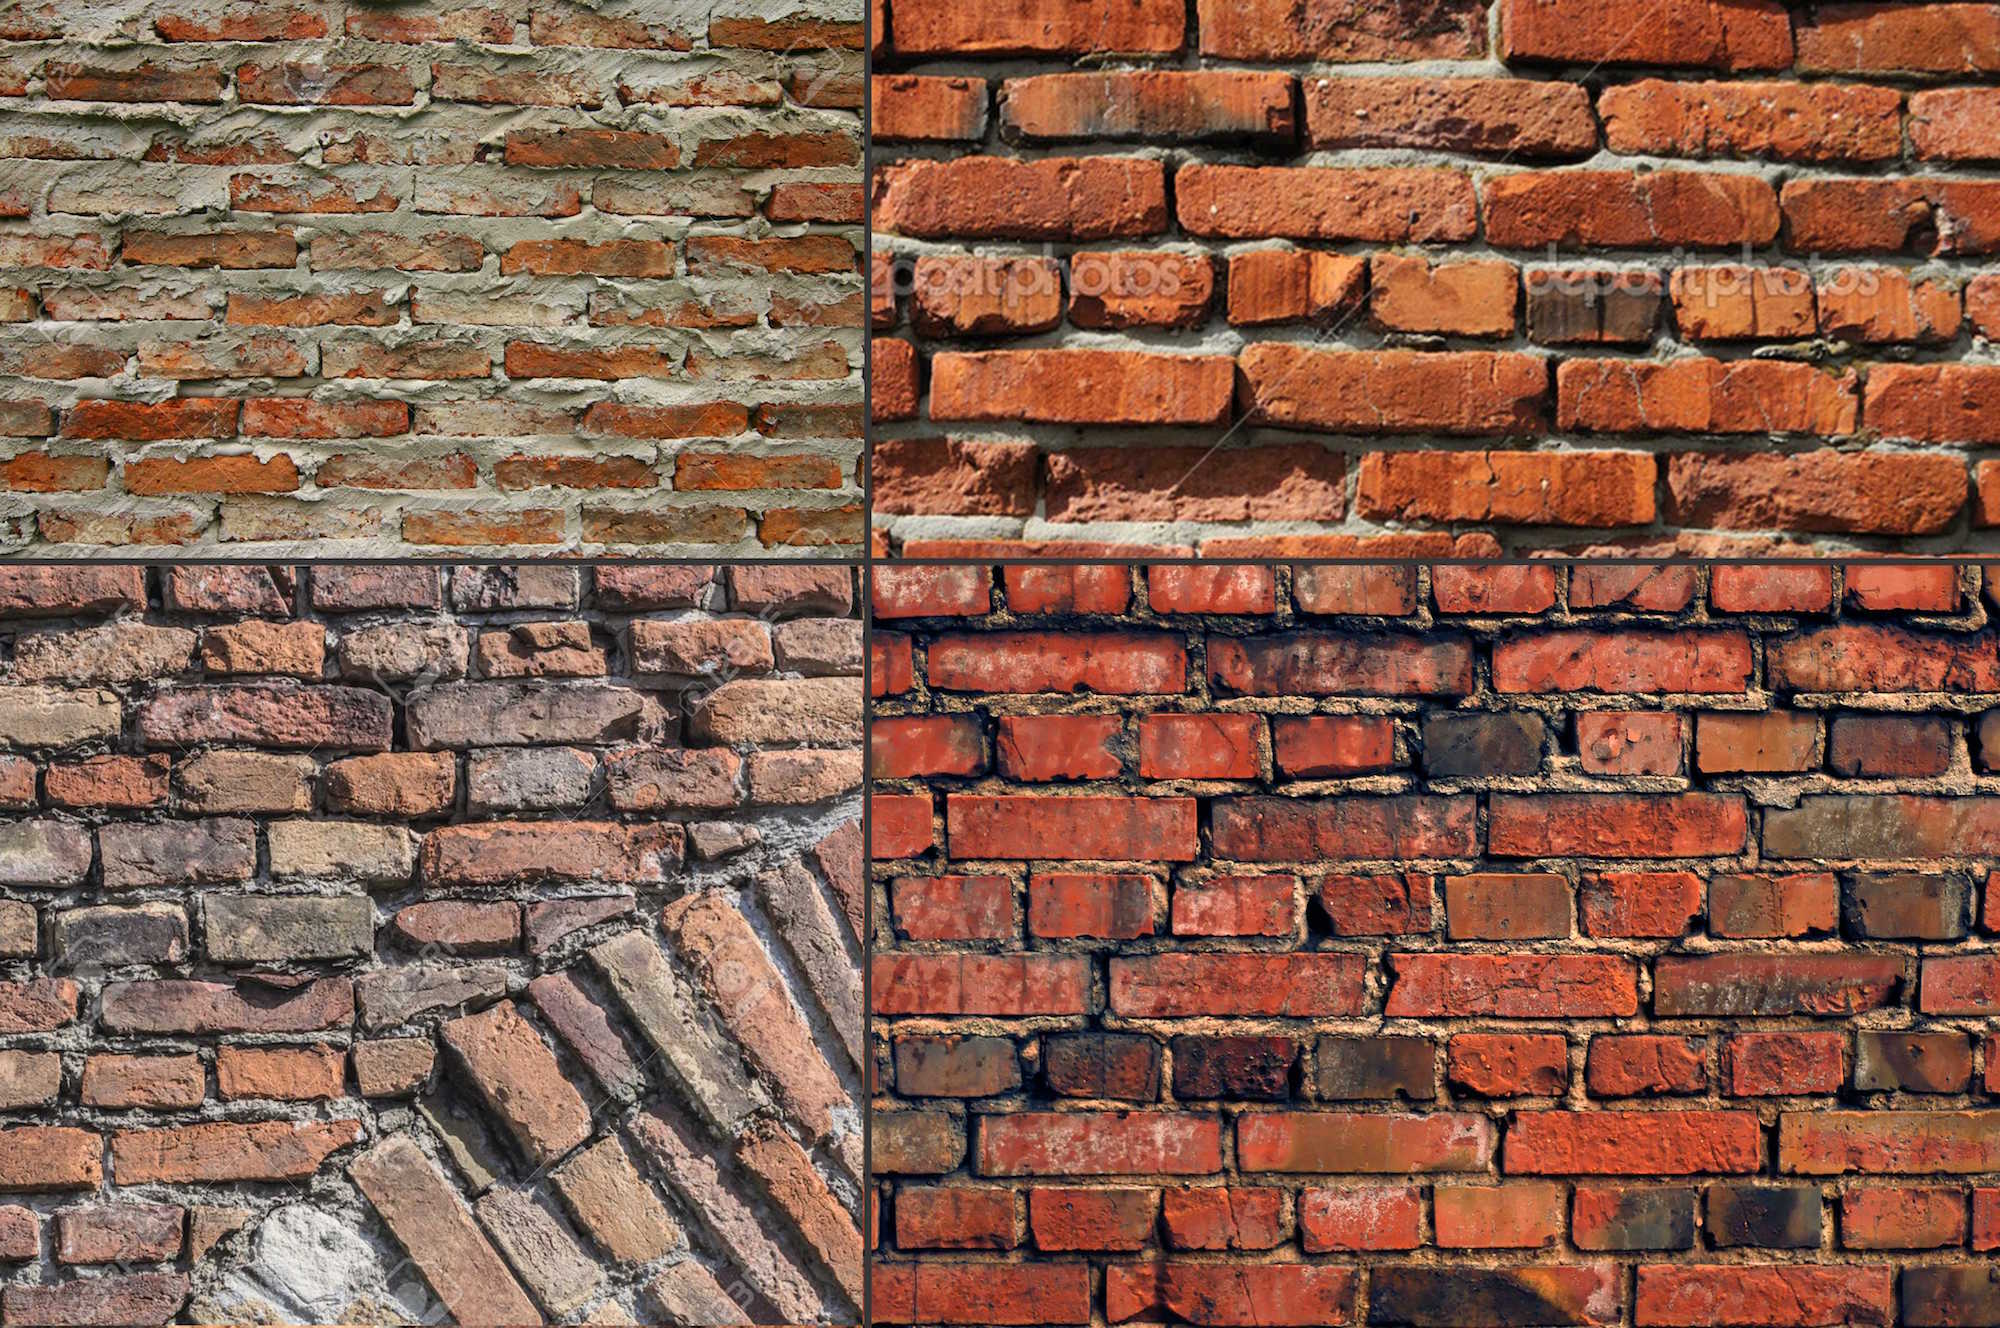
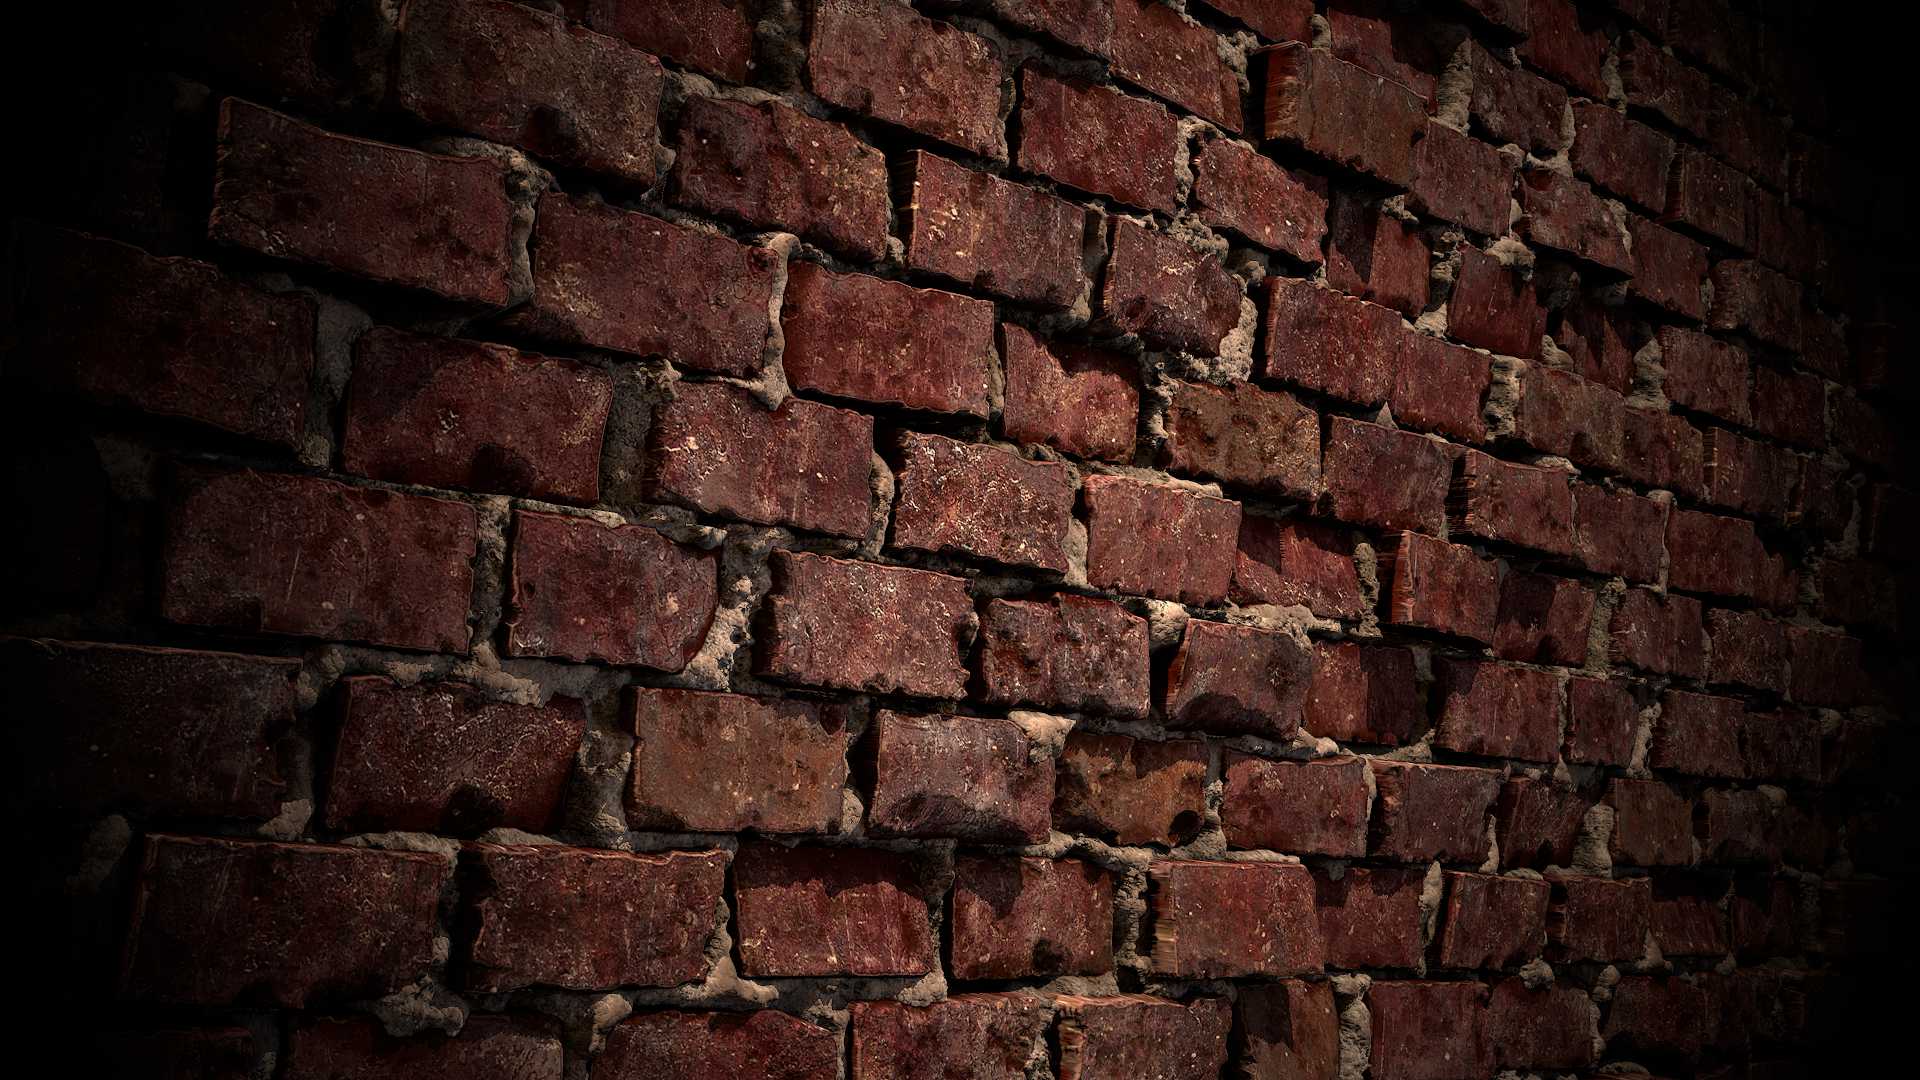
The first step as always was to look for references, I wanted an old brick wall so I had more elements to play with in the sculpt and texture.
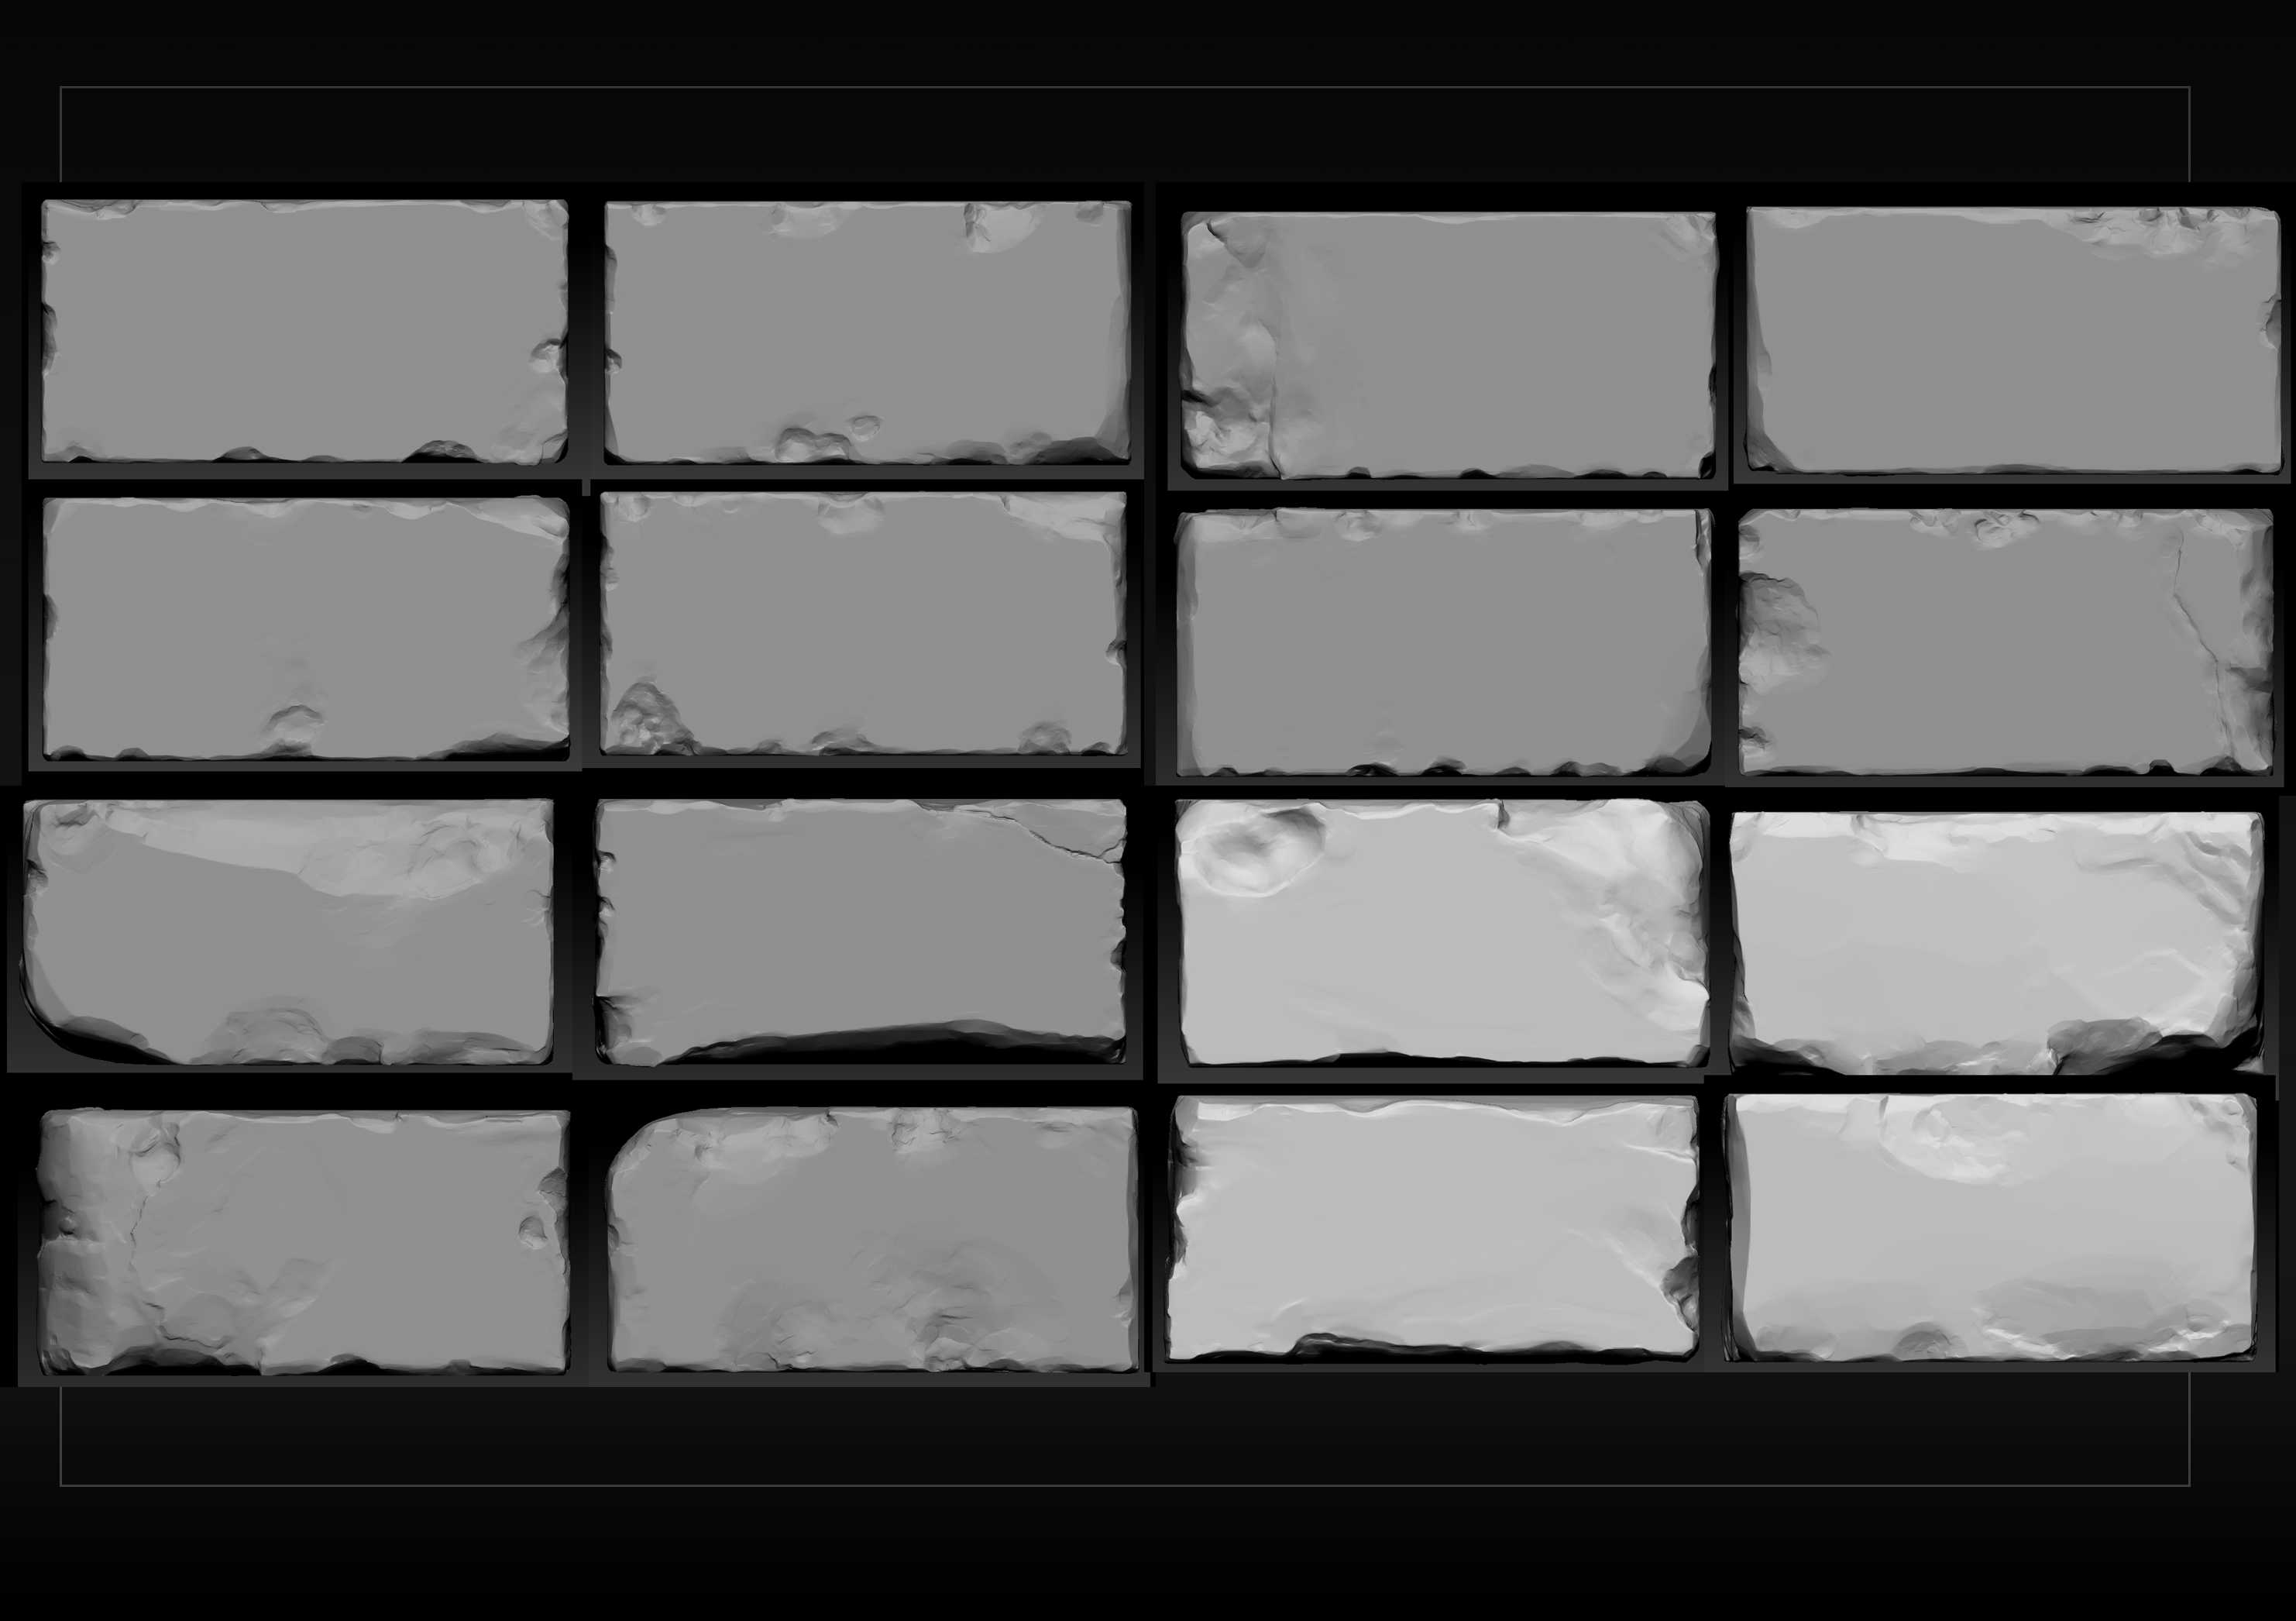
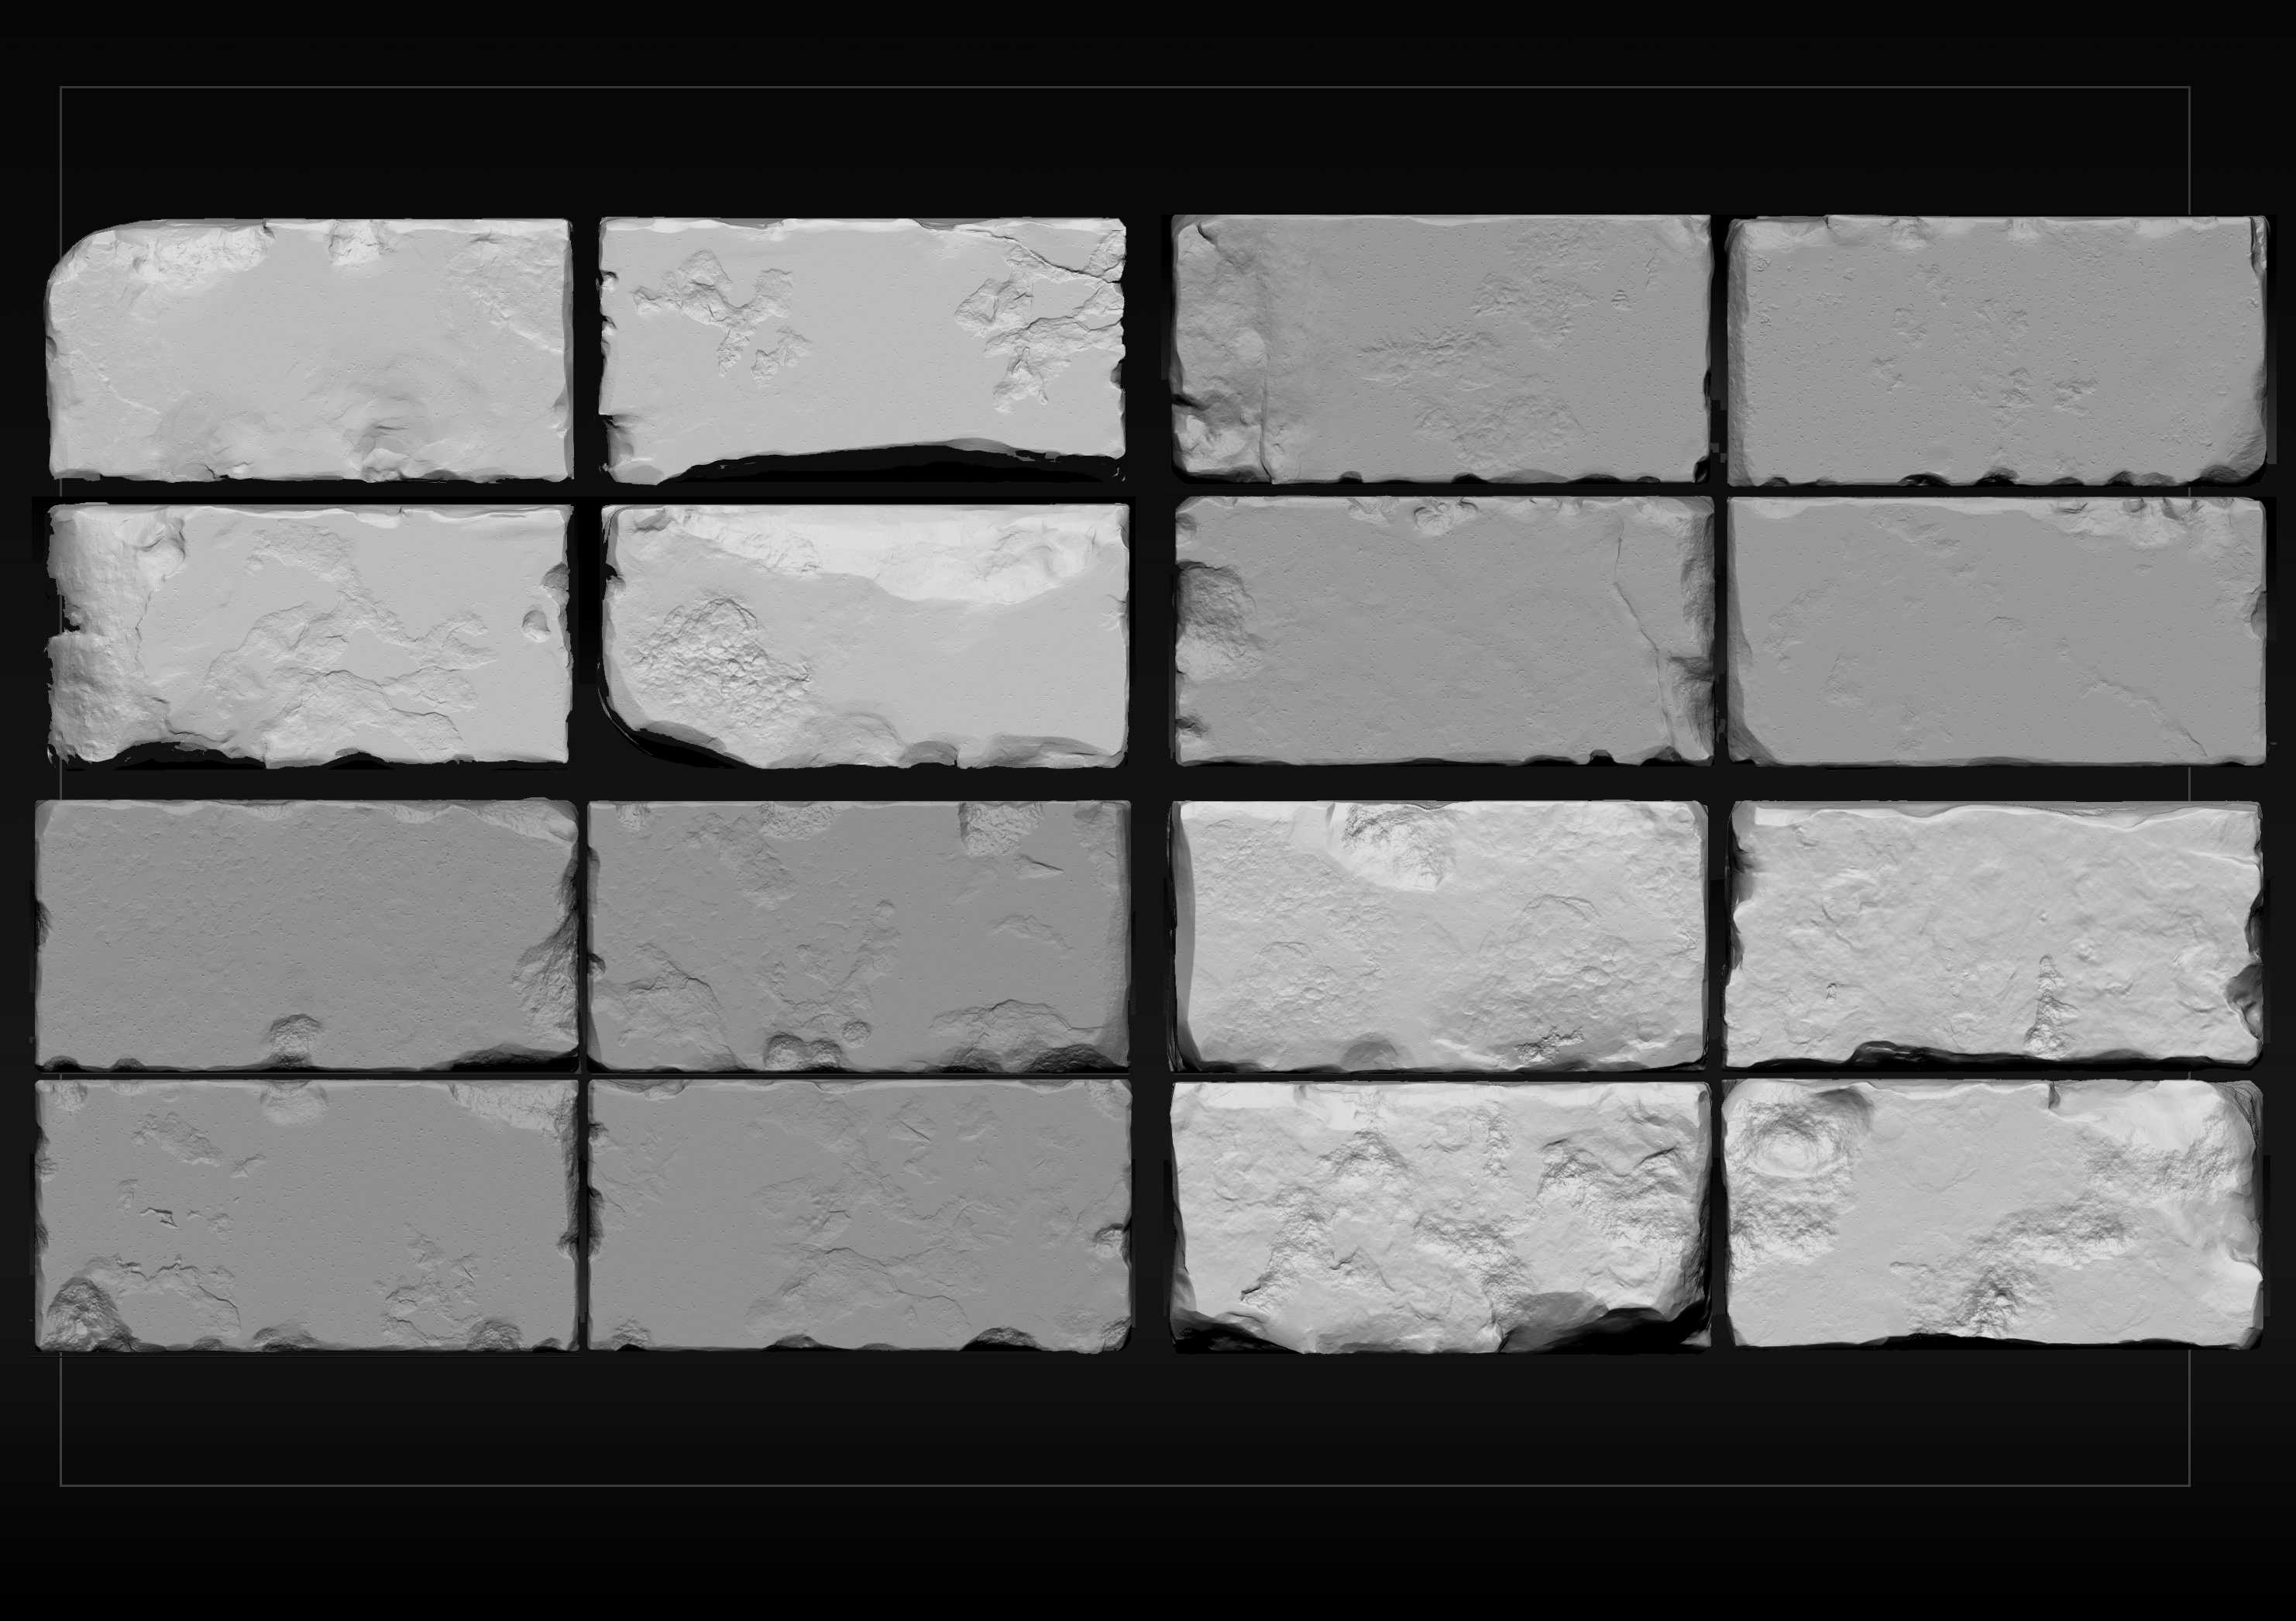
After finding some references I started with the project. I made 4 blocks in Maya, all of them the same size, that I intended to make into 16 different variants. I then brought them into Zbrush so I could start sculpting. I began by sculpting the big shapes of the brick and breaking the rectangular silhouette; this part was tricky because I had to be careful not to overdo it.
I used the layer brush for the medium-level details and some noise from ZBrush to get the really small details.
When the bricks were done, I had to bring them back into Maya so I could arrange them, so I decimated the 4 different bricks and exported them to Maya. Here I duplicated each of them 4 times and rotated them 90 degrees so I could have the 4 different faces of each and assigned different colors to each variant, so it would be easier for me to tell which ones I was using and if they were repeating too much or not.
4
For the tiling I just had to make sure that the bricks that were on the sides were the same and move them equally so I wouldn’t lose symmetry and the texture could be tileable.
5
When the arrangement of the bricks was done I made a plane and sent them back to ZBrush, where I worked on the grout using the blob and layer brushes.
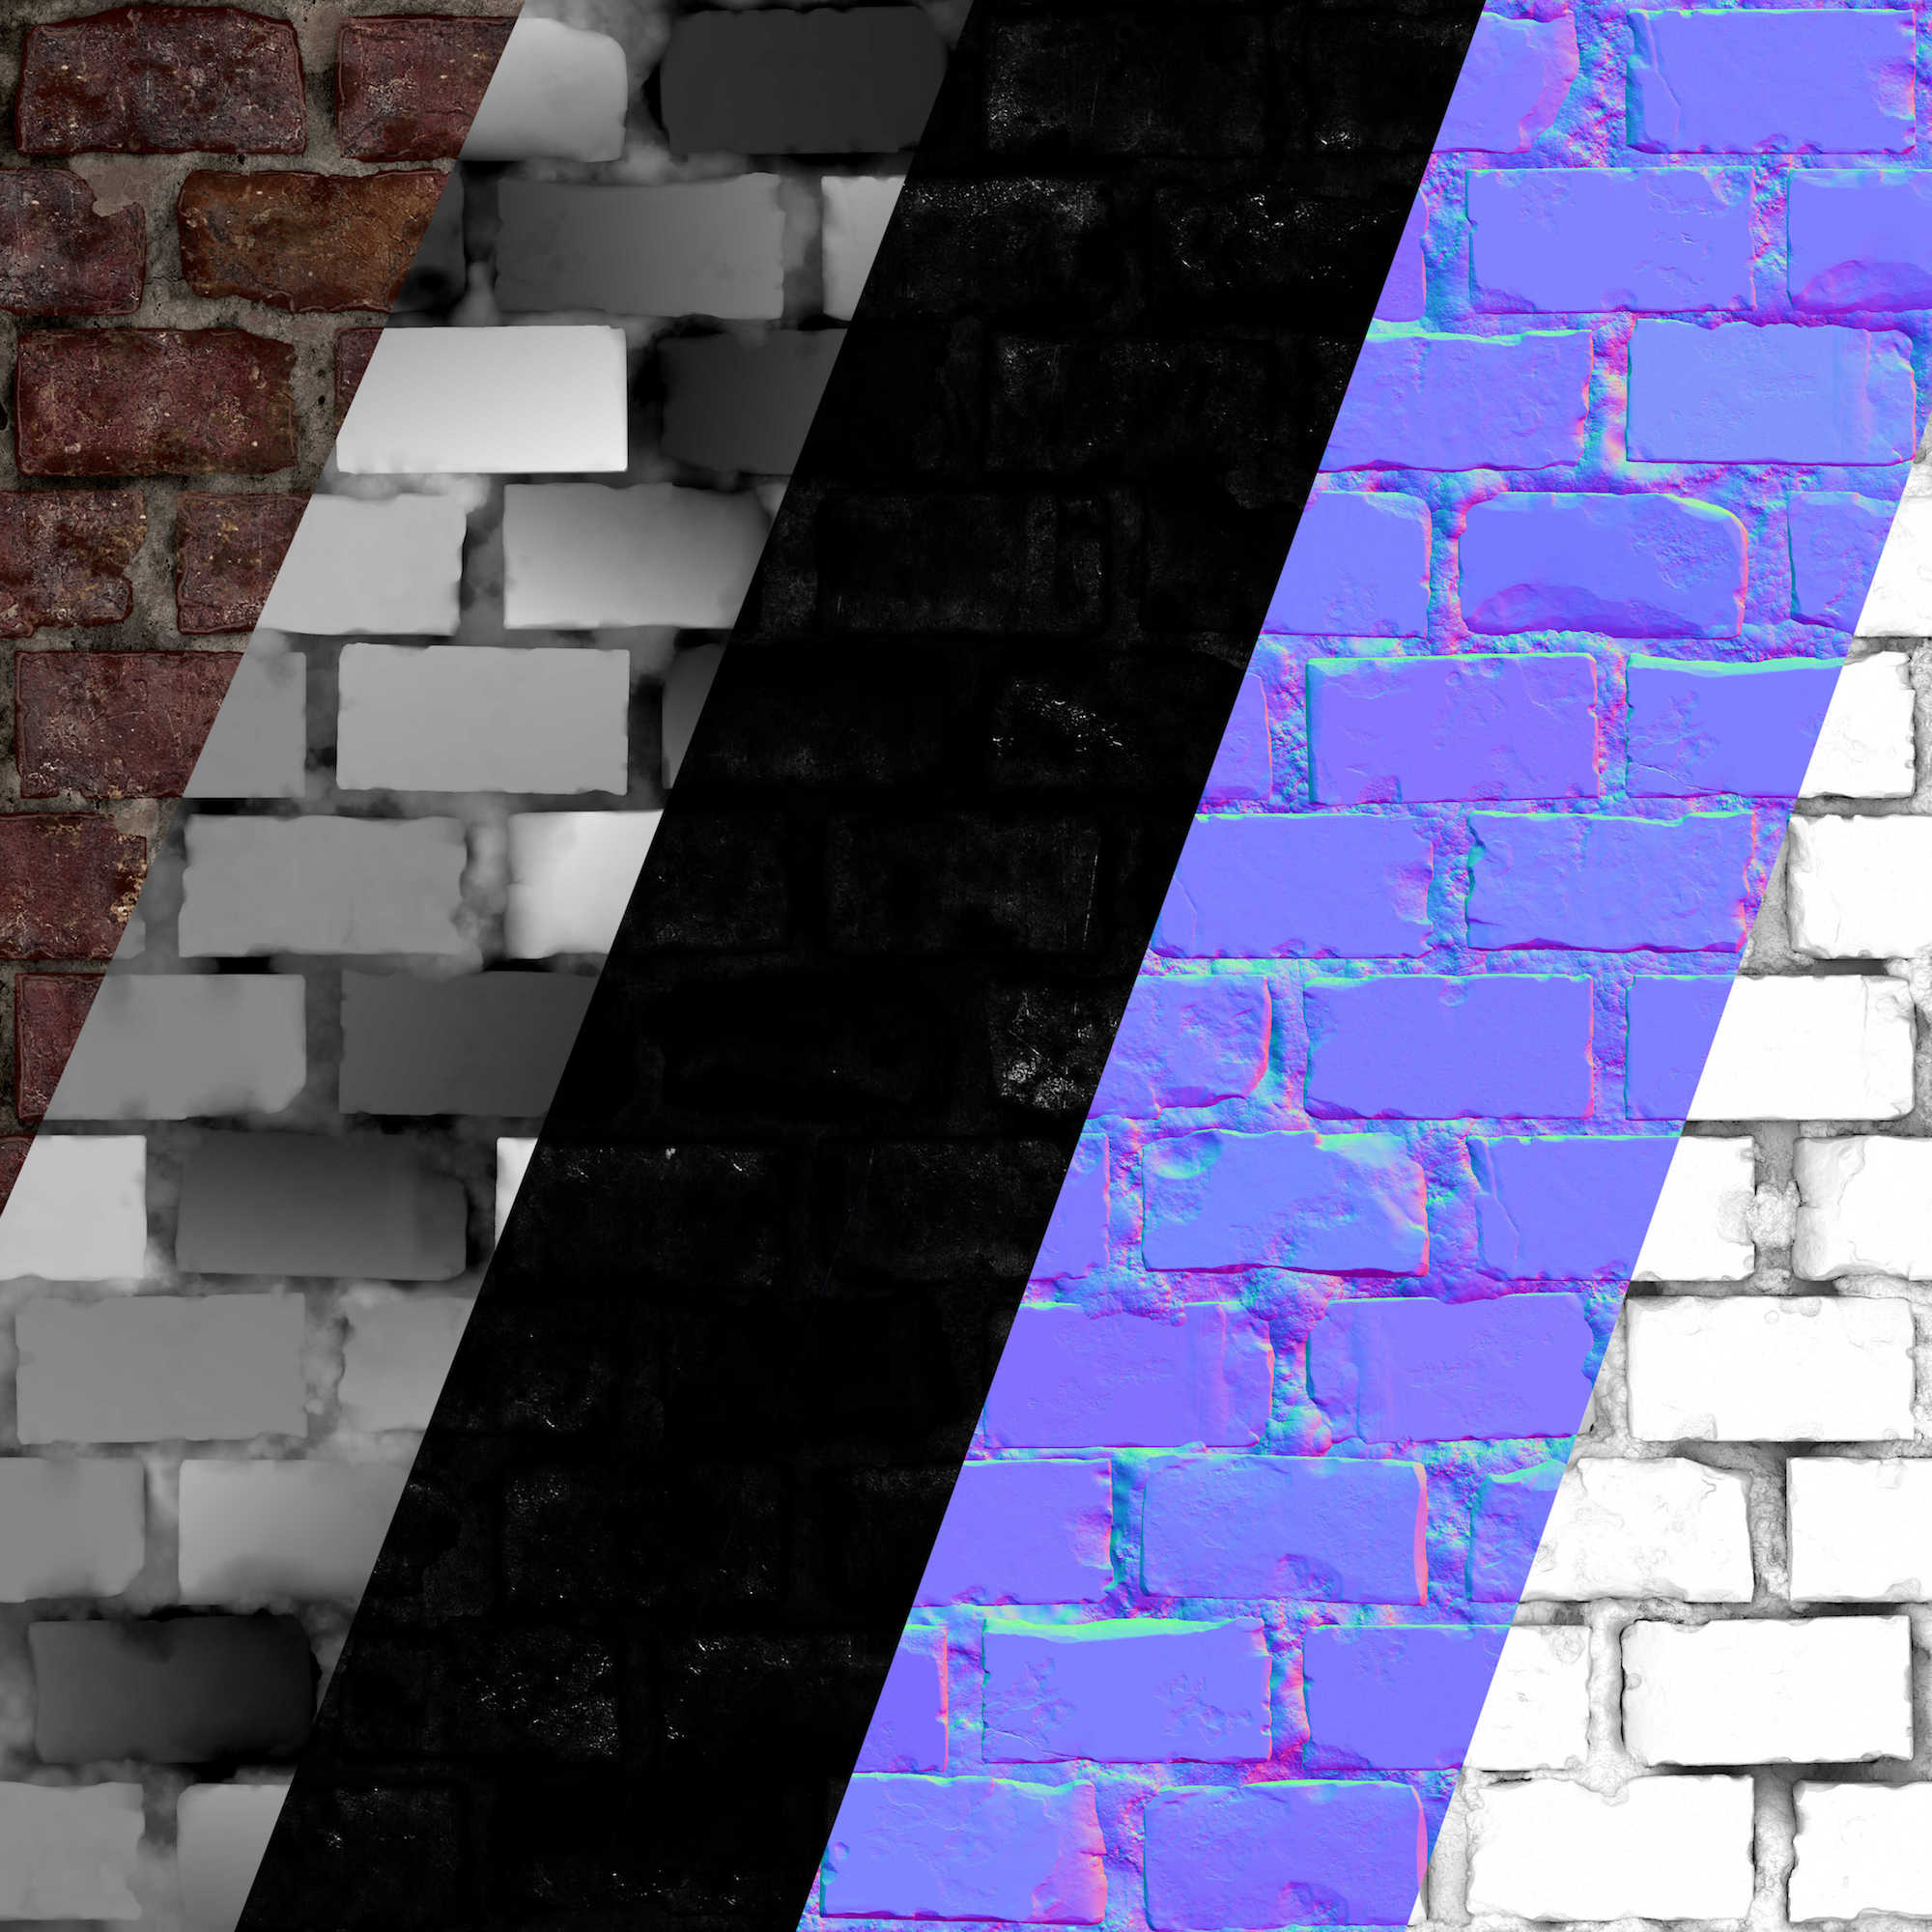
For the last step I baked the Ambient Occlusion, Normal map, Color ID map and Height map from xNormal to start working on the texture.
For painting you’ve used Photoshop. Why did you go with this software? Why not use some more elaborate tool? How did you manage to build such an amazing 3d texture in a 2d tool?
I wanted to see how far could I take Photoshop in my workflow so I decided to texture just with this program. I have been using it for a while now and I felt confident enough to do the textures using only Photoshop. The first thing I did was to use the ID map to separate the bricks from the grout. To get the details of the sculpt into the texture I used the Height map, Ambient Occlusion and Normal map with some blending modes.
Could you talk about the way you’re rendering this whole thing in Marmoset? How did you work with the lighting, how did you work with the special effects, how did you want to arrange this all in the engine?
I used the Height map for the renders on the sphere and the wall, so it would be easier to see the details of the texture. The light and shadows were key to make the details visible on the sculpt and the texture work. For the wall I placed a spotlight on top and on the sphere I used two omni lights one warm and the other cool, to create contrast.
Do you think these will work with games? Does this workflow work with games? Or maybe you could optimize it a little bit?
I made a high resolution texture that can be down-resed for video games without losing much detail.
The texture in the Marmoset Viewer is on a simple plane and can be used in game. The pipeline is the same for any asset in a video game, starting with the base model, doing a high detail sculpt in Zbrush, bake in xNormal or similar software, apply texture to the low poly model and import into the engine. This project made me focus on and think more about what I was sculpting and pay close attention to the material so I could get the best result possible.