Greg Zdunek has recently shared a post with 15 tips that will help you avoid small but critical photogrammetry mistakes.
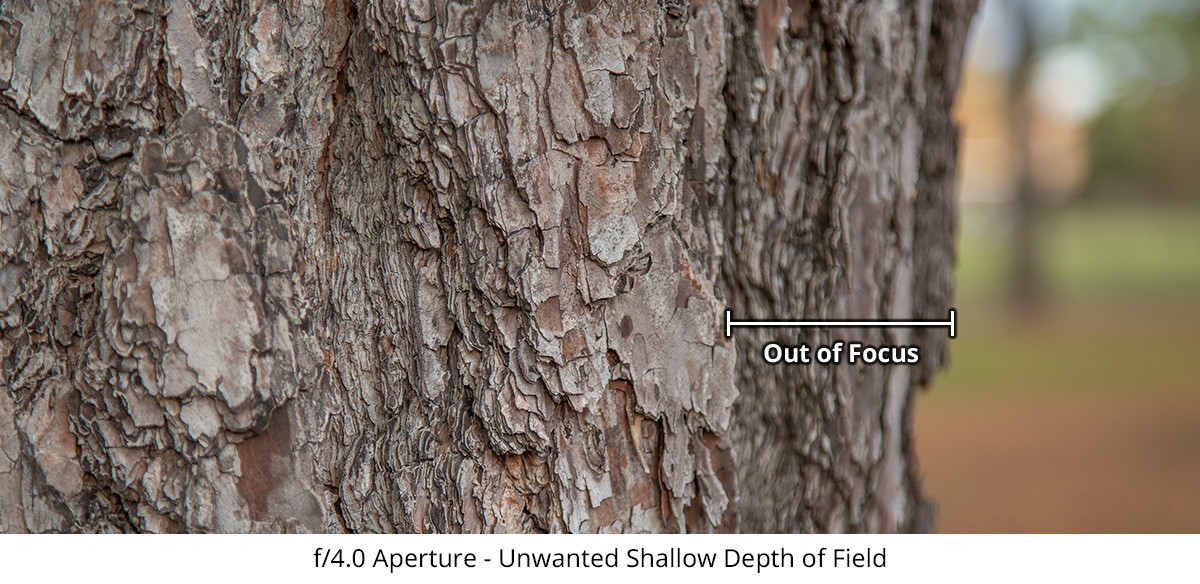
The best aperture to use will depend on many things such as your specific camera and lens, the lighting conditions, etc. But as a general guide, try to stay above f8.0.
Whatever aperture you choose, make sure you stick to it for the entire capture. Every image should have the same depth of field.
Check Exposures in Post with Histograms
After you’ve finished your capture the first thing you should do is an exposure check across all your images. The best way to read relative exposure is by looking at a histogram. Most photo editing suites have one.
The histogram of a correctly exposed image will depend on the actual colour and brightness of the object you are scanning. If your object is relatively flat and uniform, then the histogram should have a bell curve shape. A darker object should have a peak closer to the left side of the histogram and the right for a white object.
If you followed tips 6-8 and your object has a fairly uniform surface, the histogram across all your images should look very similar. Otherwise, take the time to balance the exposures and match the histograms on all your images.
Always Use a Colour Chart
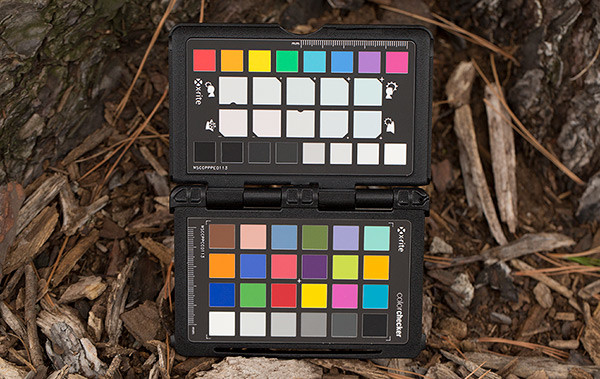
If you’re scanning the real world, why shouldn’t you also aim to get real-world colour? A colour chart is an essential tool for getting accurate colour and is also useful for white balancing your images.
Colour charts come in various sizes. The best one for outdoor use is the X-Rite Colour Checker Passport. It’s compact and includes a decent sized grey card for white balancing. It also has a clamshell folding design that makes it easy to position next to your object.